How can I display multiple stock locations in Shopify?
Once you start working with multiple stock locations in StoreLinkr, for example a store and a warehouse, we will create both of these in the Shopify integration.
We will only create the stock locations if all address details are known in the StoreLinkr portal. First check this in Catalog -> Stock locations. Make sure all details have been filled in.
To ensure that the locations are known in Shopify, you can synchronize them. Do this from StoreLinkr, click on “Synchronize now -> Export” in the top right corner of the Stock Locations screen.
Check location settings
Then go to your Shopify admin environment. Click on the gear icon with Settings in the bottom left corner. A pop-up will open.
Next, click on Locations. You should see your stock locations that are also known in StoreLinkr:

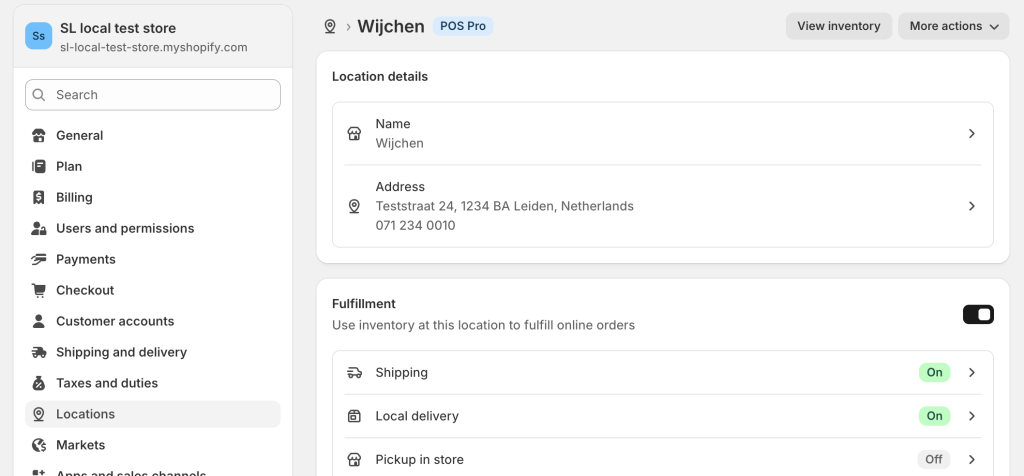
Check the new stock locations by clicking on both of them. You need to activate the visibility of these locations in your online store. They can then be used for inventory and during checkout.
As an example, we have activated both options (shipping and pickup) for this location:
Save the settings at the top of the page to continue.
Displaying stock locations on the product page
By default, it is not possible to display the new locations directly on your store page. To do this, you can create a Liquid (technical) or ask a Shopify developer to do it for you.